Flooring Calculator
You may notice, almost by coincidence, that your flooring estimate changes the moment you measure twice instead of once. With a flooring calculator, you can convert room dimensions into square footage, add waste, and compare material costs without guessing. You’ll also need to account for multiple rooms, underlayment, and trim if you want the total to hold up on site. The details matter more than they first appear, and one small mistake can skew the entire plan.
Key Takeaways
- A flooring calculator estimates material needs by multiplying room length by width to find square footage.
- Add 5% to 10% extra for waste, cuts, and future repairs.
- Measure each room separately, including closets and alcoves, for more accurate totals.
- Convert square feet to square meters when needed for your preferred unit system.
- Accurate flooring calculations help prevent shortages, delays, and unnecessary material costs.
What Is a Flooring Calculator?
It helps you compare options, organize costs, and avoid short orders that slow your project. Most calculator features let you enter room dimensions, select product units, and add extra coverage for cuts or replacements.
Some tools also convert square feet to square meters, so you can work in the format you know best. When you’re planning with others, this calculator keeps everyone aligned and confident.
It gives your team a clear starting point for choosing materials and moving forward efficiently.
How to Measure Your Room for Flooring
To use a flooring calculator accurately, you need precise room measurements first. You should clear the area, then measure each wall with a steel tape. Record length and width in the same unit, and note any alcoves, closets, or angled sections that change the room shape.
If you’re measuring a larger space, break it into simple rectangles and label each one.
- Measure from wall to wall, not baseboard to baseboard.
- Check furniture placement so you can access all edges.
- Write down every dimension immediately to avoid errors.
You’ll feel more confident when your numbers match the actual layout. Double-check each measurement, especially in older homes where walls may shift.
Precise input helps your flooring calculator reflect the room you share, not just the room you imagine.
How to Calculate Flooring Square Footage
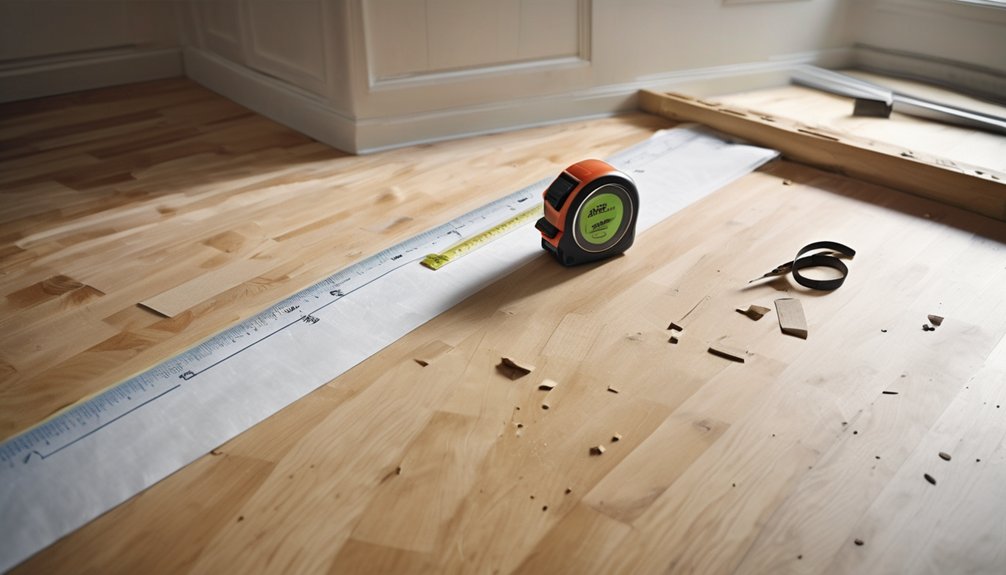
Once you’ve measured the room, multiply the length by the width to calculate square footage for each rectangular section. Add those results together for your total square footage measurement.
If your space includes closets, alcoves, or connected areas, measure each one separately, then combine them. For L-shaped rooms, split the layout into smaller rectangles so your math stays accurate.
Record all dimensions in the same unit, usually feet, before you calculate. If you use inches, convert them to feet first by dividing by 12.
This method gives you a clear estimate you can trust when planning materials and comparing flooring options. Accurate numbers help you align flooring installation techniques with your project goals, so your room feels finished, consistent, and ready for your crew.
How Much Waste to Add to Your Estimate
Add 5% to 10% waste to your flooring estimate to account for cuts, pattern matching, offcuts, and minor installation errors. This range covers common waste factors without inflating your order.
You’ll need more on rooms with angles, stairs, or complex layouts, where material waste rises fast. Use the lower end for simple rectangles and the higher end for patterned or diagonal installs.
- Straight layouts: 5%
- Mixed angles: 7% to 8%
- Detailed patterns: 10%+
You fit better decisions into your project when you plan for waste early. That small buffer helps you avoid delays, reduce stress, and stay aligned with your crew.
Always round up to whole units, then verify your total before you buy.
How to Estimate Flooring Costs by Material
Material choice drives flooring cost because each product uses a different unit price, installation method, and waste allowance. You can estimate by multiplying your measured area by the material’s price per square foot, then adding installation labor, underlayment, trim, and disposal.
Keep a separate line for prep work, since subfloor repairs can change your total fast. Check current flooring trends, because popular finishes often carry higher premiums and longer lead times.
Compare supplier quotes in the same format so you can spot cost variations without confusion. If you’re budgeting with your crew or family, use one shared worksheet and update it as prices change.
That way, you stay aligned, avoid surprises, and choose the option that fits your space and your budget.
Compare Hardwood, Tile, and Vinyl Costs
Hardwood, tile, and vinyl each land in a different price range because they vary in product cost, labor intensity, and prep requirements. You can use cost comparisons to match your budget with performance needs.
Hardwood benefits include long service life and strong resale value, but you’ll usually pay more for material and skilled installation.
Tile durability is excellent, yet you may face higher labor costs from cutting, leveling, and grout work.
Vinyl versatility keeps pricing lower, especially when you want fast installation and modest subfloor prep.
- Hardwood: premium look, premium price
- Tile: durable, labor-heavy, mid-to-high cost
- Vinyl: budget-friendly, flexible, quick install
Choose the option that fits your space, your timeline, and the level of durability you want.
How to Use a Flooring Calculator for Multiple Rooms
When you estimate flooring for multiple rooms, enter each room’s length and width separately, then total the square footage before you buy materials. You’ll get a clean, room-by-room breakdown that keeps your project organized and your team on the same page.
Measure each space in the same units, then input the room dimensions into the calculator one at a time. Add hallways, closets, and alcoves as separate entries if they change the layout.
Next, select the flooring types you’re comparing so the calculator can apply the right coverage rate and cost. Review the grand total, then add a small buffer for cuts and extra pieces.
This method helps you order accurately, stay efficient, and move forward with confidence.
Common Flooring Measurement Mistakes to Avoid
Even a small measuring error can throw off your flooring order, so you need to avoid the most common mistakes from the start. Use a rigid tape, not a cloth one, because improper tools create measurement errors that waste material and delay your install. Measure each room twice, then compare both readings before you enter numbers into your flooring calculator.
Record lengths in the same unit every time, and don’t round up too early. Keep your space in the same layout when you measure, and note alcoves, closets, and door recesses separately.
- Check wall-to-wall dimensions at the longest point.
- Verify diagonal measurements for square corners.
- Mark every opening before you calculate totals.
When you work this way, you’ll stay accurate and feel confident with the group.
Plan for Underlayment and Trim Costs
Don’t stop your estimate at the flooring surface; add underlayment, trim, and transition pieces to your flooring calculator so your total reflects the full install cost.
You’ll want to match underlayment types to your subfloor, flooring material, and moisture risk, since foam, cork, and felt each price differently.
Then factor in trim styles like baseboards, quarter round, and thresholds, because coverage length and profile affect both material and labor.
Measure perimeter runs, doorways, and room breaks separately, then convert each line item into linear feet.
This keeps your estimate tight and helps your crew stay aligned.
When you include these finishing components upfront, you avoid gaps in budget and join the homeowners who plan clean, complete installs.
How to Choose the Best Flooring Calculator
What should you look for in a flooring calculator? You need one that matches your project’s flooring types, room shape, and waste factor. The best tool lets you enter exact dimensions, then adjusts for installation methods, trim, and underlayment so your estimate feels reliable.
- Supports multiple flooring types, like plank, tile, and carpet
- Lets you switch installation methods, including straight lay and diagonal
- Shows material, labor, and overage separately
Choose a calculator with clear units, fast input, and editable assumptions. If you’re comparing options with your crew or community, consistency matters.
A solid calculator helps you speak the same language, avoid shortages, and budget with confidence.
Conclusion
You’ve guided your project like a mapmaker in a tight maze, turning room measurements into clear material counts. With a flooring calculator, you can avoid hidden gaps, trim waste, and keep costs on course. Measure carefully, add the right waste factor, and include underlayment and trim before you buy. When you choose the right calculator, you don’t just estimate—you build a reliable plan that keeps your flooring project efficient, accurate, and on budget.