
Roofing Calculator
A roofing calculator helps you turn roof measurements into material counts without guesswork. You can enter length, width, pitch, and waste to estimate squares, shingles, underlayment, starter strips, ridge caps, and labor. It also helps you account for hips, valleys, and other complex areas that change totals fast. If you want a reliable budget, you’ll need to know which numbers matter most and which ones can skew the estimate.
Key Takeaways
- Enter accurate roof dimensions, pitch, and waste factor to get a reliable roofing estimate.
- Measure each roof plane separately, including dormers, valleys, hips, and overhangs.
- Convert total roof area into squares, where 1 square equals 100 square feet.
- Estimate shingles, underlayment, starter strips, ridge caps, flashing, and nails from the total squares.
- Add labor, tear-off, and a 10%–20% contingency for surprises, waste, and price changes.
How to Use a Roofing Calculator

To use a roofing calculator effectively, you’ll need to enter accurate roof dimensions, pitch, and waste factor so it can estimate the total material required.
You’ll then select the roofing materials you plan to install, such as shingles, underlayment, flashing, or panels, so the estimate matches your build.
Check each field for units and confirm the slope format before you calculate.
If your roof includes hips, valleys, or dormers, add their impact separately when the tool allows it.
Good installation techniques depend on precise estimates, and a trusted calculator helps your crew stay aligned on scope.
When you review the result, compare it with your supplier’s pack coverage, then adjust for cuts, overlap, and fastening needs.
Measure Your Roof Area
Start by measuring each roof plane separately so you can total the full surface area accurately. Use reliable measurement tools like a tape measure, laser device, or app, and note each dimension as you go.
Different roof types, such as gable, hip, or shed, require different layouts, so stay organized and track every plane. If you’re part of a crew or DIY group, this process keeps everyone aligned and reduces mistakes.
- Measure length and width for each section.
- Record dormers, valleys, and overhangs.
- Label each plane before moving on.
Work methodically, and you’ll build a clean takeoff that your team can trust. Double-check awkward areas and compare notes before you finish.
Convert Roof Measurements to Squares
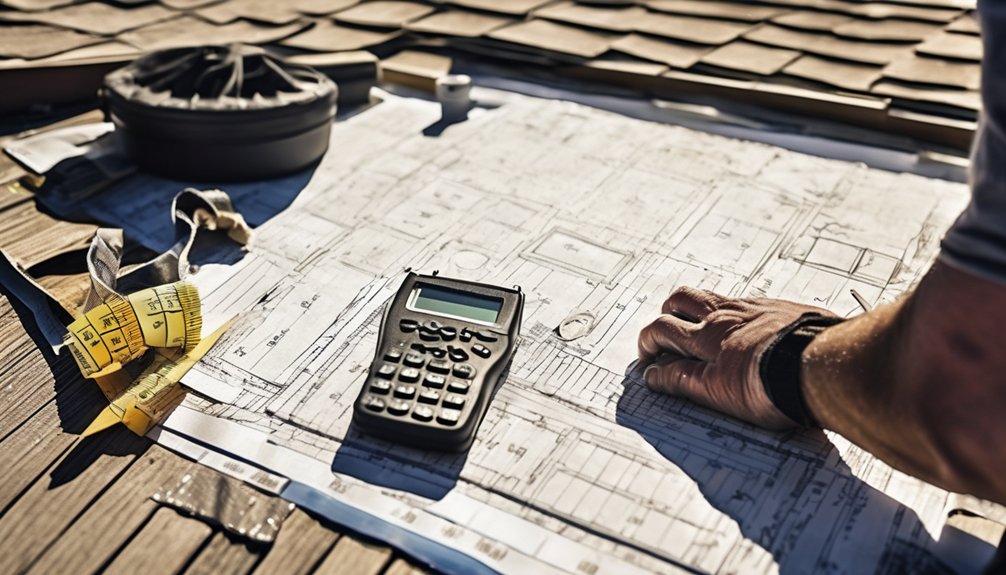
Once you’ve measured each roof plane, convert those numbers into squares so you can estimate materials quickly and consistently. One square equals 100 square feet, so divide each plane’s area by 100. Keep your measurement units uniform before you convert; mixing feet and inches will skew results. Different roof types—gable, hip, shed, or complex—still use the same square method, but their shapes change how you tally planes.
| Area (sq ft) | Squares |
|---|---|
| 100 | 1 |
| 250 | 2.5 |
Add the squares for every plane, then round to a practical total based on your crew’s standard. When you use the same conversion every time, you stay aligned with other pros and keep your calculator output clean, fast, and reliable.
Estimate Shingles Needed
Shingle estimates begin with your roof’s total squares, since most bundles and coverage rates are based on that number. You’ll usually need three bundles per square, but you should confirm the exact bundle yield for your chosen shingle types.
Add waste for cuts, valleys, and layout changes so you don’t run short mid-job.
- Measure total squares first
- Check bundle coverage on the label
- Add waste based on roof complexity
For steep or broken roofs, plan extra material; simpler layouts need less.
Strong installation tips include keeping bundles consistent across the roof and staging them where you can reach them safely.
When you calculate this way, you’re working like a pro and staying in control of your project.
Figure Underlayment, Starter, and Ridge Caps
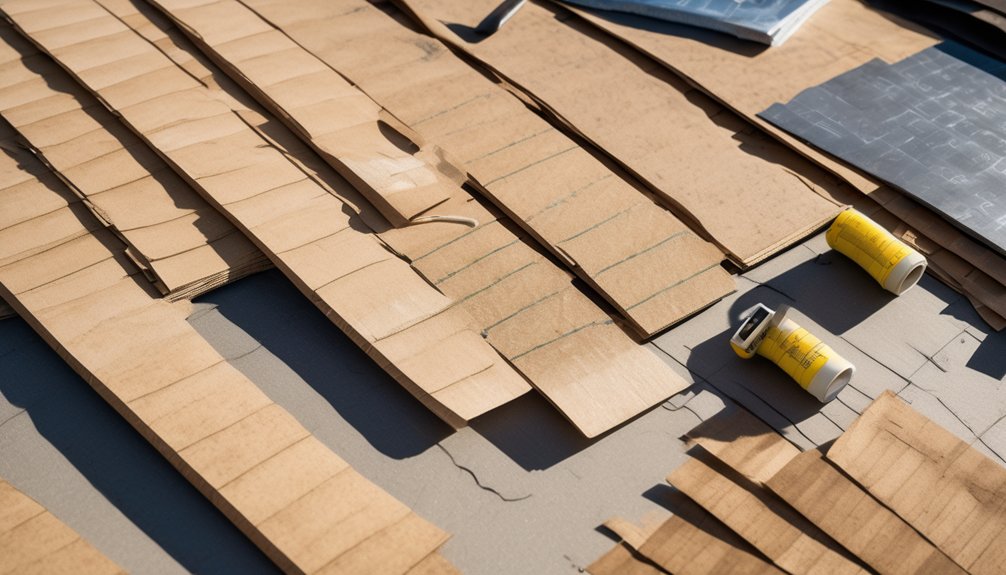
After you know the shingle count, figure your accessory materials by roof square: underlayment, starter strip, and ridge caps all depend on the total coverage area and the roof layout.
You’ll usually match underlayment to the roof’s slope and exposure, so compare underlayment types before you buy.
Plan starter strip along every eave and rake, then add enough for waste at cuts and valleys.
For ridge caps, measure every peak and hip, then select ridge cap styles that fit your shingle profile and ventilation details.
Convert linear feet to bundles or rolls using the product coverage on the label.
Keep a small overage for trim and miscuts, so your crew stays on track and your estimate feels solid, not short.
Add Nails, Flashing, and Drip Edge
Next, add the fasteners and edge metals that lock the roof together: count nails by shingle square, then price flashing and drip edge by linear foot. You’ll usually choose nail types that meet code and match shingle specs, so your crew stays aligned and your estimate stays tight.
- Use corrosion-resistant roofing nails for secure fastening.
- Compare flashing materials at valleys, walls, and penetrations.
- Include drip edge installation along eaves and rakes for clean support.
Price each item separately, then total them with the rest of your material list.
Keep roof ventilation openings clear when you place metal details, since blocked airflow can affect performance. This step helps you build a roof system that fits the job and the team.
Adjust for Roof Pitch and Waste
Once you’ve priced nails, flashing, and drip edge, adjust the estimate for roof pitch and waste so your material count reflects the actual job.
Steeper roof pitch increases surface area, so you’ll need more shingles or panels than the flat footprint suggests. Use the pitch multiplier from your calculator to convert square footage into true roof area.
Then apply a waste factor based on roof complexity: simple gables need less, while hips, valleys, and cuts create more scrap. For a straight run, you might use 10%; for a complex layout, 15% or more.
This keeps your order realistic and helps your crew stay on schedule. When you account for pitch and waste up front, you’re building with confidence, and you’re part of the kind of team that gets it right.
Compare Roofing Material Costs
Compare material prices by unit cost and coverage so you can see the real difference between products. You’ll get a clearer roofing calculator result when you compare shingles, metal panels, and tiles by square, bundle, or panel.
Check each product’s coverage rate, because a low sticker price can hide less area per package. Also weigh material durability, since longer service life can justify a higher initial cost. Different installation methods can change how much product you need and how easily you fit it to your roof system.
- Compare price per square foot
- Match coverage to your roof area
- Verify durability against local weather
When you review these factors together, you’ll make a smarter choice and feel confident joining homeowners who plan with precision.
Estimate Labor Costs for a Roof Replacement
Labor costs can make up a large share of your roofing calculator total, so estimate them by factoring in roof size, pitch, tear-off work, crew rates, and local labor pricing. You’ll usually see labor rates rise with steep slopes, multiple valleys, or limited access. Ask for line-item quotes so you can separate standard install time from tear-off and cleanup. Include contractor fees, because some crews add permits, hauling, or site protection charges.
| Factor | Effect | What to check |
|---|---|---|
| Roof pitch | Higher risk | Access and safety setup |
| Tear-off | More time | Layers removed |
| Crew rate | Higher total | Hourly or per-square pricing |
When you compare bids, you’re joining a smarter group of homeowners who price work with precision, not guesswork, and that keeps your estimate grounded.
Turn Your Estimate Into a Budget
After you’ve estimated materials and labor, turn the total into a working budget by adding a contingency for waste, hidden damage, and price changes. Use 10% to 20% as your baseline, then adjust for local roofing trends and supply volatility. This keeps your budget planning realistic and helps you stay aligned with the crew, suppliers, and neighbors who’ve done this before.
- Add permit, disposal, and cleanup fees.
- Compare quotes from two or three contractors.
- Set aside funds for upgrades you may want later.
Track each line item in a spreadsheet, then review it before you sign. You’ll spot gaps early, control scope creep, and protect your project from surprises.
A clear budget also gives you confidence when you discuss options with your roofing team.
Conclusion
With your roofing calculator, you can turn rough measurements into a clear, workable estimate. You’ve sized the roof, added pitch and waste, and accounted for shingles, underlayment, and ridge caps. Now you can compare material and labor costs with confidence, so the project stays on budget without unpleasant surprises. Use your numbers as a practical guide, and you’ll be ready to move forward with a well-planned roof replacement.