Concrete Calculator
You can sidestep a costly guessing game with a concrete calculator that turns your site measurements into exact volume estimates. You measure length, width, and depth, then convert the result into cubic yards or cubic meters for slabs, footings, or posts. It also helps you factor in waste, bag counts, and mix ratios, but the real advantage shows up when you compare common calculation errors that can quietly distort your totals.
Key Takeaways
- A concrete calculator converts site measurements into concrete volume in cubic yards or cubic meters.
- Calculate slabs by multiplying length, width, and thickness using consistent units.
- Measure footings and posts separately using diameter, width, and depth for each form.
- Add 5% to 10% waste to cover spillage, uneven edges, and small errors.
- Convert total volume into bags or truckloads to plan ordering and reduce shortages.
What Is a Concrete Calculator?
You use it to convert site measurements into a usable quantity, usually in cubic yards or cubic meters. This gives you a clear starting point for planning materials, labor, and ordering.
You can also compare concrete types and mix designs, because each option affects performance, cost, and placement. In precise terms, the calculator supports efficient planning by reducing guesswork and improving consistency.
If you’re part of a team, it helps everyone align on the same numbers, so you can move forward with confidence and avoid avoidable shortages or excess.
How to Measure a Concrete Project
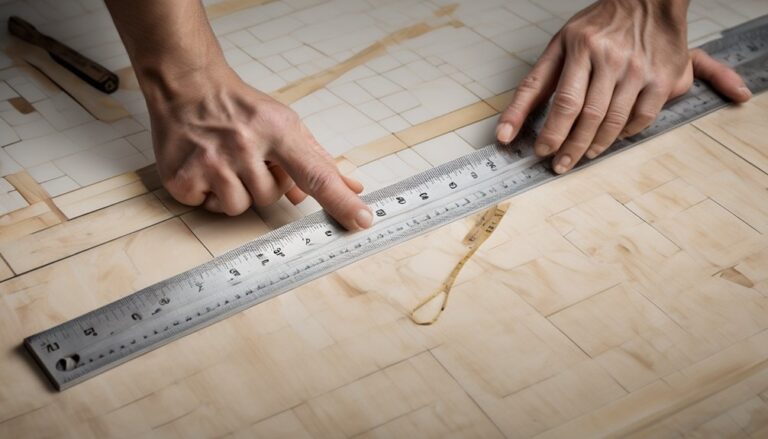
To measure a concrete project accurately, you first define each pour area and record its dimensions in consistent units, then calculate volume from length, width, and thickness for slabs or from diameter and depth for circular forms. You’ll work like the pros when you verify project dimensions, note obstacles, and confirm concrete thickness at every section. Consistency keeps your estimate trustworthy and helps your crew stay aligned.
| Measure | Record | Why it matters |
|---|---|---|
| Length | Feet or meters | Sets base area |
| Width | Feet or meters | Confirms shape |
| Thickness | Inches or millimeters | Determines volume |
Measure twice, compare notes, and keep every value in the same unit system. That shared precision builds confidence and keeps your team moving together.
Calculate Concrete for Slabs

For a slab, you calculate concrete by multiplying length by width to get area, then multiplying that area by thickness to get volume. Use the same units throughout, then convert cubic feet or cubic yards as needed for ordering.
Confirm your slab thickness before you compute, because even small changes shift the total fast. If your plan includes reinforcement types, account for them in the design, but don’t subtract their displacement unless the specification says so.
Add a modest waste allowance for spillage and uneven edges, especially on larger pours. When you work this way, you stay aligned with the crew, the supplier, and the jobsite standard.
Clear measurements help you fit in with experienced builders and avoid costly shortages or overages on pour day.
Figure Concrete for Footings and Posts
Footings and posts require you to calculate each hole or pier as a separate cylinder or rectangular form, then total the volumes before converting to cubic feet or cubic yards.
You measure diameter or width, depth, and footing depth with care, because small errors compound quickly. For posts, use post spacing to count every support point, then match each opening to its shape and size.
If a hole widens at the top, estimate the average diameter so your figure stays accurate. Add each individual volume, and keep units consistent throughout.
This method helps you stay aligned with the job plan and gives your crew a dependable concrete estimate. When you work systematically, you reduce guesswork and keep footing and post calculations clean, repeatable, and precise.
Account for Waste, Bags, and Mix Ratios
Once you’ve figured the base volume, add a waste allowance so you don’t come up short from spillage, over-excavation, uneven subgrades, or small form losses. A 5% to 10% buffer usually supports sound waste management while keeping your estimate tight.
Then convert cubic yards into bags using the mix on the label, because bag counts vary by yield.
- Add waste first, then recalculate volume.
- Use the bag yield to find total bags.
- Match the strength mix to your load needs.
For mix optimization, choose the lowest cement content that still meets performance and placement requirements.
You’ll work with a group that values accuracy when you round up to whole bags and keep one consistent ratio across the pour. That approach helps you stay efficient, aligned, and ready to place concrete with confidence and control.
Avoid Common Concrete Calculator Mistakes
Where do concrete estimates most often go wrong? You usually miss unit conversions, especially when you switch between feet, inches, yards, and meters. Verify every dimension with calibrated measurement tools, then apply the correct conversion factors before you enter values.
Don’t round too early; small errors compound across slabs, footings, and columns. You also need to separate gross volume from net pour volume, because forms, embeds, and slopes change the result.
Check mix yield, not just bag count, so your calculator matches the product you’ll actually place. If you’re working with a crew, confirm one shared method for inputs and waste allowances.
That discipline keeps you aligned, reduces rework, and helps your team deliver clean, accurate pours every time.
Conclusion
When you use a concrete calculator, you turn rough site dimensions into exact volumes, like tracing a clean line through a messy plan. You measure carefully, enter slab, footing, or post dimensions, and let the numbers guide your pour. By allowing for waste, bag counts, and mix ratios, you avoid costly gaps and excess. In the end, you’ve got a sharper estimate, a smoother workflow, and a project that stays solid from the first scoop to the final finish.