Gravel Calculator
If you’re building a 12-by-20-foot driveway base, you can’t guess the gravel order and hope it’s close. You measure the area, set the depth, and convert the volume to cubic yards, then adjust for compaction and waste. The exact number depends on the gravel type and layer use, and one small mistake can leave you short or over budget—so the calculation matters more than it first seems.
Key Takeaways
- Measure length, width, and depth accurately to calculate gravel volume in cubic feet.
- Convert cubic feet to cubic yards by dividing by 27 for delivery estimates.
- Add waste and compaction allowances to account for spillage and settling.
- Choose gravel type based on size, drainage, appearance, and project requirements.
- Use consistent units and multiple depth measurements for more reliable calculations.
How Gravel Calculators Estimate Material
Gravel calculators estimate material by converting your project’s length, width, and depth into volume, then applying the gravel’s unit weight or density to determine how much you need.
You get a faster, more reliable estimate than guessing by eye, and you stay aligned with the right material types for your job.
Because gravel density varies by stone size, shape, and moisture, the calculator adjusts the result to match the aggregate you choose.
You can compare options, reduce waste, and order with confidence. In a group of builders, landscapers, or DIYers, that consistency matters because it keeps everyone on the same page.
Use the calculated quantity as a practical planning baseline, then round up slightly for compaction and minor losses.
Measure Your Area and Depth
Before you can trust the calculator’s estimate, you need accurate site measurements. Start your area measurement by marking the length and width of the space with a tape measure.
Keep the lines straight and note any irregular edges; you’ll get a better fit when you measure each section separately. For depth determination, check the planned gravel thickness at several points, since slopes and low spots can change the result.
- Measure length.
- Measure width.
- Record depth.
- Repeat in multiple spots.
If your project has curves, break it into simple shapes and measure each one. Write everything down in the same unit, so you stay aligned with the rest of the crew.
Careful measuring helps you order with confidence and avoids waste.
Convert Measurements to Cubic Yards
To convert your measurements to cubic yards, multiply length by width by depth to get cubic feet, then divide by 27. This gives you a standard volume for planning. Keep your units consistent, and you’ll protect measurement accuracy.
| Length | Width | Depth |
|---|---|---|
| 10 ft | 10 ft | 0.5 ft |
| 12 ft | 8 ft | 0.5 ft |
| 15 ft | 6 ft | 0.5 ft |
| 20 ft | 10 ft | 0.25 ft |
Use cubic yard conversions to compare different spaces quickly. If your numbers are in inches, convert them to feet first, then calculate. Round only after you finish the math, so you don’t underbuy. With a clean formula, you stay in control and work like the rest of us who want exact results without waste or guesswork.
Choose the Best Gravel Type
Now that you’ve got the right cubic yard amount, you can pick the gravel type that matches the job and keeps the project performing as expected. You’re not guessing; you’re matching specs, texture, and finish.
Compare gravel types by size, shape, and drainage behavior, then choose gravel colors that fit the surrounding materials and your team’s design goals.
- Crushed stone: locks together well and resists shifting.
- Pea gravel: rounded, smooth, and easier underfoot.
- River rock: decorative, polished, and visually distinct.
- Decomposed granite: compactable with a finer surface.
Check local availability, too, because stock affects cost and lead time.
When you choose with your crew’s needs in mind, you’ll get a cleaner install and a result that fits right in.
Calculate Gravel for Driveways
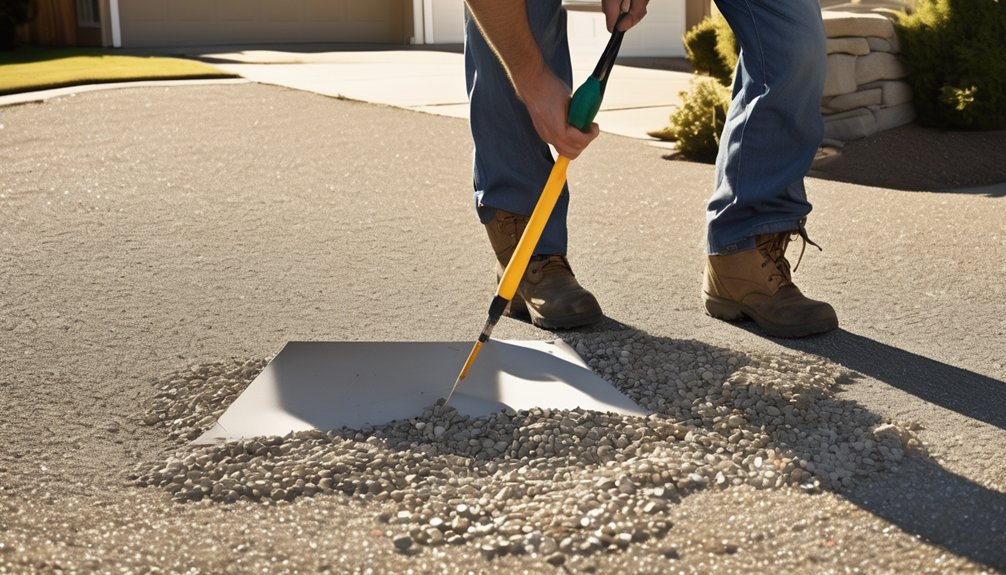
For a driveway, measure the length and width, then multiply by the planned depth to get cubic feet and divide by 27 for cubic yards.
Add 5% to 10% for compaction and minor grading losses, so you don’t come up short. If your driveway is long, split it into sections and total each section before ordering. That keeps your estimate tight and helps you fit in with homeowners who plan smartly.
Compare suppliers using gravel pricing strategies that balance delivery fees, bulk discounts, and material grade.
After installation, follow driveway maintenance tips like regrading low spots, filling ruts, and keeping edges contained. You’ll protect the surface, control costs, and order the right amount the first time.
Calculate Gravel for Paths and Walkways
Paths and walkways use the same basic math as driveways, but the narrower width makes accurate depth control even more important. You’ll multiply length by width, then by depth, to get cubic feet; divide by 27 for cubic yards. For a clean, comfortable path, stay consistent across every section.
- Measure the route in feet.
- Choose your target depth, usually 2 to 3 inches.
- Convert inches to feet before calculating.
- Add 5% to 10% for trimming and settling.
Use gravel selection tips to match particle size to foot traffic and edging. If you’re building with your community in mind, pick a finish that stays stable under regular use.
Follow path maintenance advice by raking loose stone and topping up thin spots when wear starts.
Estimate Gravel for a Base Layer
A base layer needs enough gravel to compact into a stable foundation, so you’ll calculate the area, multiply by the required depth, and convert the result to cubic yards. Use a gravel thickness that matches your project and supports the base layer benefits you need: load spread, drainage, and a level start. If you’re building with the crew, keep everyone aligned on the same measurements.
| Area | Depth | Volume |
|---|---|---|
| 100 sq ft | 4 in | 1.23 yd³ |
| 200 sq ft | 4 in | 2.47 yd³ |
| 300 sq ft | 6 in | 5.56 yd³ |
| 400 sq ft | 6 in | 7.41 yd³ |
Check your dimensions, then use the table as a quick reference for planning your order.
Account for Waste and Compaction
Because gravel settles and some material always gets lost during handling, you should add a waste and compaction allowance before you order. You’re not overbuying; you’re matching real site conditions.
Use waste estimation to cover spillage, edge trimming, and uneven placement, then apply compaction factors to reflect how the stone tightens under traffic and vibration. A tight crew knows this keeps your quantity realistic.
- Measure the finished volume.
- Multiply by the compaction factor.
- Add waste estimation percent.
- Round up to the nearest delivery load.
If you’re working with a shared jobsite, this buffer helps your team stay aligned and avoids short runs.
Check the supplier’s material specs, since densities and settlement behavior can vary.
Avoid Gravel Ordering Mistakes
Even small ordering errors can throw off your gravel project, so you need to verify your dimensions, depth, and unit conversions before placing the order.
Double-check whether you measured in feet, yards, or meters, and confirm the spread rate your crew expects. Match the gravel types to the job, because stone size and shape affect coverage, drainage, and finish.
Keep your ordering tips simple: compare supplier load sizes, round up only after you’ve reviewed totals, and note any delivery limits at your site.
You’ll stay aligned with other homeowners and contractors when you check access, disposal space, and weather delays too.
Careful confirmation now helps you avoid short shipments, excess material, and costly reorders, so your crew can keep moving with confidence.
Use a Gravel Calculator for Accurate Orders
Using a gravel calculator helps you turn site measurements into a precise order, so you can estimate volume, weight, and coverage before you buy. You’ll avoid shortfalls, excess, and wasted haul fees while staying aligned with your crew’s specs.
- Measure length, width, and depth.
- Convert dimensions to cubic yards or tons.
- Add 5–10% for compaction and spillage.
- Match the result to local product density.
This simple workflow supports gravel benefits like stable drainage, erosion control, and load distribution.
It also makes gravel maintenance easier because you order the right depth for long-term performance. When you calculate accurately, you work with confidence, keep the job on schedule, and stay part of a smart, efficient project team.
Conclusion
In the end, you can use a gravel calculator to cut guesswork and order the right amount the first time. If you measure length, width, and depth carefully, you’ll convert your project into cubic yards with much better accuracy. Remember that about 10% extra material is often needed for waste and compaction. That small buffer can prevent delays, reduce reorders, and keep your driveway or base layer on budget and on schedule.