How to Estimate Paint Needed for Any Room
You probably don’t know that paint estimates change fast once you factor in doors, windows, and extra coats. To size your project right, you’ll measure each wall, subtract openings, check the can’s coverage rate, and then add a small buffer for waste. If you also plan for ceiling and trim, you’ll avoid buying too little or far too much—but there’s one simple step that makes the final number much more reliable.
Key Takeaways
- Measure each wall’s length and height, then multiply to get total wall square footage.
- Subtract the area of doors and windows from the wall total.
- Check the paint can’s coverage rate in square feet per gallon.
- Divide the paintable area by coverage rate, then multiply by the number of coats.
- Round up and add extra paint for waste, touch-ups, and consistent color matching.
How to Measure Your Room for Paint?
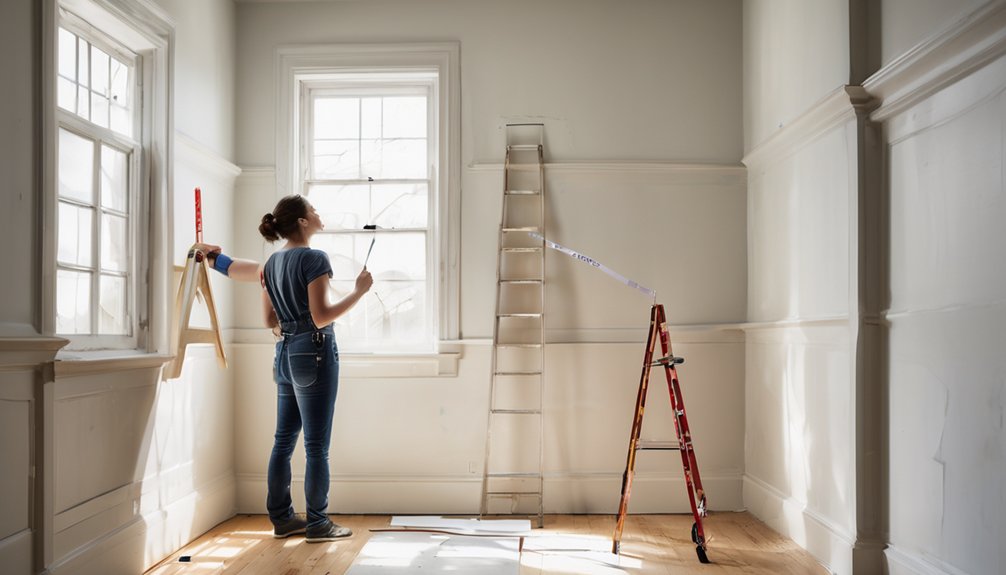
Start by measuring each wall’s length and height with a tape measure, then multiply those two numbers to get the square footage of each wall. Write each result down as you go, so you can total the room quickly.
Next, measure the ceiling if you plan to paint it, using the same method. Use a level floor line as your reference point, and keep your numbers in feet or inches consistently.
Next, measure the ceiling if you plan to paint it, using the same method.
Then, note the room’s shape, because alcoves and angled sections affect coverage.
Check the paint types you’re considering, since different finishes may need different coverage estimates.
Finally, review your surface preparation needs, such as patching or priming, so you can estimate accurately and feel confident before you buy.
How to Subtract Windows and Doors?
Next, subtract the area of each window and door from your total wall footage so you don’t overbuy paint. Measure each opening by calculating dimensions: width times height.
For a standard door, use the full rectangle, even if a panel sits inside it. Do the same for windows, including any trim only if you plan to paint it.
Write each result down, then add those openings together. Now subtracting areas becomes simple: total wall area minus all openings equals your paintable surface.
If you have a team helping you, compare notes so everyone stays on the same page. This step keeps your estimate clean, accurate, and ready for the next calculation.
How to Estimate Wall Paint Coverage?
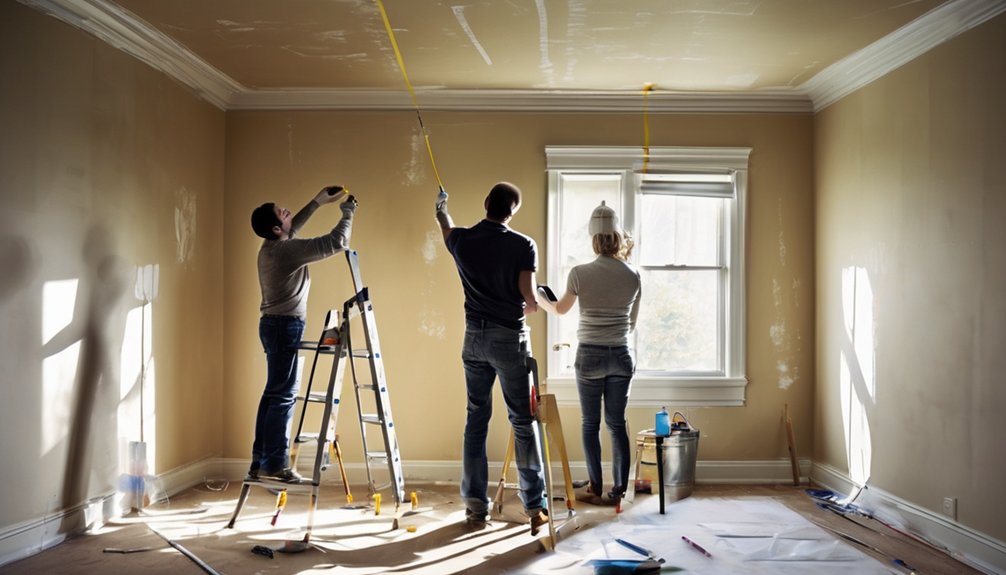
To estimate wall paint coverage, check the label on the paint can for the coverage rate, usually listed in square feet per gallon.
Next, measure each wall’s width and height, then multiply to get total square footage. Subtract openings you already measured.
Divide the remaining area by the can’s coverage rate to estimate gallons. Different paint types can cover differently, so use the rate for the product you chose.
Keep in mind that surface preparation affects how much paint the wall drinks in; rough or porous walls often need more.
For a confident estimate, round up slightly so your crew won’t run short.
When you follow these steps, you stay in control and get a result that fits your room and your plan.
How to Factor in Extra Coats?
Once you know the wall coverage for one coat, adjust the estimate for any additional coats you plan to apply. Multiply your single-coat gallons by the number of coats, then round up so you’re not left short.
- Use two coats for most color changes and all bold color shifts.
- Add a third coat when paint finish types are glossy or coverage looks uneven.
- Check color selection tips early, because darker shades often need extra paint.
If your room has textured walls or a strong existing color, build in a little extra.
Keep your team consistent by buying the same batch now, so you avoid mismatched touch-ups later. This step keeps your project on track and helps you move forward with confidence.
How to Account for Ceiling and Trim Paint?
Ceilings and trim need their own paint estimate because they usually cover differently than walls. Measure the ceiling’s length and width, multiply them, then add the square footage to your room total.
For ceiling paint, choose a finish type that hides flaws and reflects light gently, usually flat or matte.
Next, measure trim by counting baseboards, crown molding, doors, and window frames, then estimate by linear feet and convert to coverage. Use trim paint with a durable finish type, often semi-gloss, so it stands up to wear.
During color selection, keep ceiling and trim colors consistent with your walls so the space feels unified.
When you plan each surface separately, you stay confident, organized, and part of a team that paints smart.
How to Read Paint Calculator Results?
After you’ve added ceilings, trim, and walls to your paint estimate, the calculator turns those measurements into purchase numbers you can use right away.
First, read the total square footage, then check the gallons per coat. Next, note whether the result assumes one or two coats, because that changes your plan fast.
Use these paint calculator features to compare wall, ceiling, and trim totals without guessing.
- Confirm the room dimensions match your notes.
- Review coverage rates for the paint you chose.
- Watch for common calculation mistakes like forgetting doors, windows, or extra coats.
If the calculator shows a range, use the higher number for safer planning.
You’re not alone here; these steps help you translate numbers into a clear, confident estimate.
How to Buy the Right Amount of Paint?
Buy a little more paint than the calculator says you need so you can cover touch-ups and avoid running short. First, check the can size and compare it with your room’s square footage. Then choose paint brands that match your finish and budget, because coverage can vary. For shared spaces, make sure your color choices feel consistent from wall to wall.
| Step | Action |
|---|---|
| 1 | Note total gallons needed |
| 2 | Add 10% for waste |
| 3 | Match brand coverage rate |
| 4 | Round up to full cans |
| 5 | Save one labeled can |
Next, buy all cans at once to avoid shade differences. If you’re unsure, ask the store to confirm the batch number. That way, you’ll paint with confidence and feel at home in the result.
Frequently Asked Questions
What Type of Paint Finish Is Best for High-Traffic Rooms?
For high-traffic rooms, you’ll usually want satin or semi-gloss paint; you get better durability comparison and easier cleaning. Test sheen effects, then choose the finish that matches your space and keeps everyone feeling at home.
How Do Humidity Levels Affect Drying Time?
Humidity impacts drying time by slowing evaporation, so you’ll wait longer between coats. You can improve results by using drying techniques like fans, dehumidifiers, and open windows, and you’ll feel more confident painting together.
Should I Use Primer on Previously Painted Walls?
Yes, use primer on previously painted walls if you’re changing color, covering stains, or fixing patches. Primer benefits include better adhesion and even coverage. For wall preparation, clean, sand lightly, then prime.
What Tools Make Paint Estimation Easier?
Paint calculators and measuring tools make estimation easier. You’re not alone—DIYers often overbuy by 20%. Measure each wall, enter dimensions, then compare results. Keep a notepad handy, and you’ll plan confidently with your crew.
How Long Does Unopened Paint Last?
Unopened paint usually lasts 2-10 years, depending on type and paint storage. Check the can, then inspect for odor, separation, or clumps before you use it. Good storage helps maximize paint shelf life.
Conclusion
Now you can estimate paint for any room with confidence. Measure each wall, subtract doors and windows, and divide the remaining area by the paint can’s coverage. Add extra coats, include ceiling and trim if needed, and round up for waste. When you buy, choose the next full can size so you don’t run short mid-project. With this simple process, you’ll avoid guesswork and get a clean finish—no need for any crystal ball.