Quick Volume Conversions for Home and Work
You’re scaling a soup recipe from 2 cups to a restaurant batch, and you need the right milliliters fast. When you convert volumes at home or work, you cut errors and save time. Simple ratios, like 1 teaspoon to 5 milliliters or 1 cup to 240 milliliters, give you a reliable base. But the real efficiency comes from knowing which shortcuts hold and which ones can mislead you.
Key Takeaways
- Common volume units at home and work include teaspoons, tablespoons, cups, milliliters, liters, pints, quarts, and gallons.
- Quick conversions to remember: 1 teaspoon equals 5 milliliters, 1 tablespoon equals 15 milliliters, and 1 cup equals 240 milliliters.
- Use step-by-step conversions between nearby units to avoid mistakes and save time.
- Measure small amounts with spoons, larger amounts with cups or containers, and level dry ingredients for accuracy.
- Round estimates when precision is not critical, but keep exact measurements for recipes, compliance, or cost-sensitive tasks.
What Are the Most Common Volume Units?
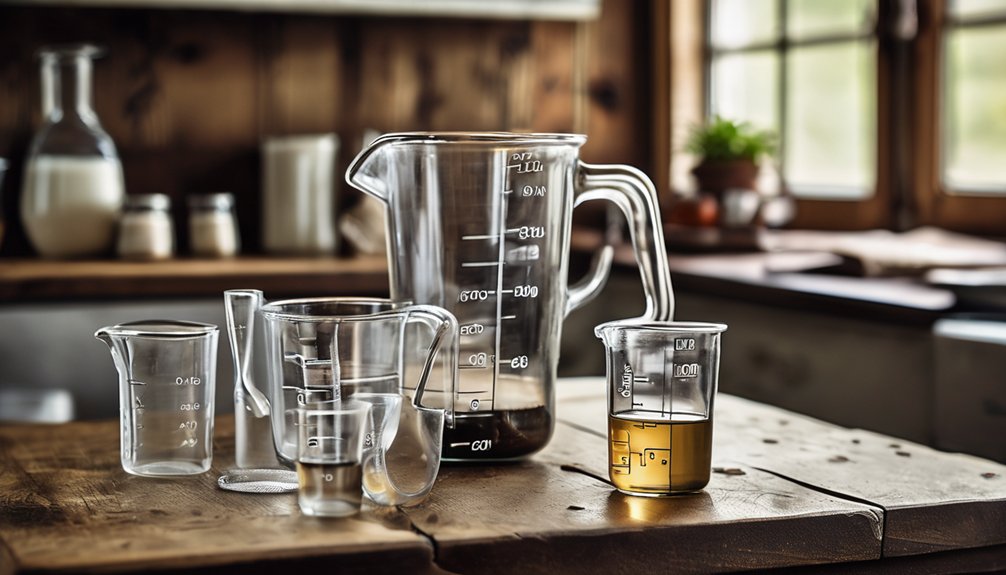
The most common volume units are the liter and milliliter in the metric system, and the gallon, quart, pint, cup, fluid ounce, tablespoon, and teaspoon in customary U.S. measurements.
You’ll use them to judge how much space a liquid or granular substance fills, whether you’re cooking, measuring soap, or comparing containers.
Liter and milliliter suit scientific and everyday precision; customary units help you follow familiar recipes and labels.
When you know these units, you fit smoothly into shared home and work routines.
You may also notice historical measures that persist in older documents or regional practices.
Even literary volumes can borrow the same idea of “volume” to describe bound works, but here you’re tracking capacity.
Clear unit recognition helps you communicate accurately and belong in any measurement setting.
Volume Conversion Chart
A volume conversion chart gives you a quick way to move between units without recalculating every time. You can scan it to compare metric conversions, cooking measurements, and liquid measurements in one place.
When you work from a chart, you reduce errors and keep shared tasks moving smoothly. You’ll find it useful for volume applications at home, in the kitchen, or on the job.
The layout usually pairs familiar units, so you can confirm whether you need milliliters, liters, cups, or gallons. Because the structure is consistent, your team can use the same reference and stay aligned.
That shared clarity helps you act confidently, save time, and make cleaner decisions whenever volume matters.
Quick Volume Conversion Ratios
Quick volume conversion ratios let you translate measurements fast by using fixed relationships instead of starting from scratch. You can rely on them when you handle liquid measurements at home, in the lab, or on the job, and they keep your volume applications consistent with your team’s standards.
Quick volume conversion ratios help you translate measurements fast, keeping liquid measurements consistent at home, in the lab, or on the job.
- 1 teaspoon equals 5 milliliters
- 1 tablespoon equals 15 milliliters
- 1 cup equals 240 milliliters
- 1 pint equals 2 cups
- 1 quart equals 2 pints
When you memorize these ratios, you reduce errors and move with confidence. You’re not guessing; you’re applying a shared system that helps everyone stay aligned.
That clarity matters whenever you scale recipes, compare containers, or document results.
The Fastest Volume Conversion Method
When you need the fastest volume conversion method, you start with the known ratio closest to your target and move step by step through units rather than recalculating from zero.
You can then apply conversion shortcuts: multiply or divide by 10, 100, or 1000 when the metric ladder changes. This keeps your work clean and lets you stay with the group of people who convert quickly and accurately.
In practical applications, you’ll often move from liters to milliliters, or from cubic centimeters to liters, using one organized chain.
Write each step once, check the direction, and avoid extra calculations. That disciplined approach reduces errors, saves time, and gives you a repeatable method you can trust at home or on the job.
Kitchen Conversions Made Simple
In the kitchen, accurate volume conversion starts with the units you see most often: teaspoons, tablespoons, cups, pints, quarts, and gallons. You can keep control by using measuring spoons for small amounts and kitchen scales when dry ingredients need precision measuring.
Remember that liquid ounces track pourable ingredients, while recipe adjustments often depend on how tightly you pack or level ingredients.
- Use level spoons for dry ingredients.
- Check liquid ounces at eye level.
- Match cups to consistent portions.
- Rely on kitchen scales for repeatability.
- Note ingredient substitutions before you start.
These simple checks help you cook with confidence, stay aligned with your group’s baking tips, and avoid guesswork.
When you share a kitchen rhythm, everyone benefits from cleaner results and fewer surprises.
Converting Between Metric and US Units
Metric and US volume units line up cleanly once you know the key anchors: 1 teaspoon is about 5 milliliters, 1 tablespoon is about 15 milliliters, 1 cup is about 240 milliliters, and 1 liter is just over 4 US cups.
You can convert confidently by scaling from those points, then checking whether your number sits near a teaspoon, tablespoon, cup, or liter. That approach highlights metric advantages: decimal steps make mental math fast and consistent.
It also reveals imperial challenges, since cups, pints, quarts, and gallons don’t scale as neatly. If you work with both systems, keep one reference chart nearby and use the same anchor every time.
You’ll stay accurate, save time, and feel part of the group that handles conversions smoothly, without second-guessing measurements.
Cleaning Solution Conversions
For cleaning solutions, you usually need to convert ratios, not just volumes, because the strength of a mix depends on how much concentrate you add per unit of water.
You can match cleaning solution ratios by scaling both parts equally, so every batch stays consistent and safe for your team.
- Read the labeled ratio first.
- Multiply both parts by the same factor.
- Keep dilution guidelines visible near your workspace.
- Measure concentrate before adding water.
- Record your mix so others can repeat it.
This approach helps you avoid weak results or harsh residue.
When you work with shared supplies, precise conversions build trust and keep everyone aligned.
If a recipe calls for 1:16, you can double it to 2:32 or halve it to 0.5:8, preserving strength without guesswork.
How to Read Volume Conversion Charts
When you read a volume conversion chart, you match the source unit to the target unit, then trace across the row or column to find the correct factor. You confirm the heading, read the labels, and note whether the chart uses liters, milliliters, cups, or gallons.
In volume measurement, precision comes from checking the exact pairing before you multiply or divide. Strong chart interpretation means you follow the table step by step, so you stay aligned with others who need fast, reliable results at home or work.
If the chart includes decimals, keep them in place and use the same unit logic throughout. This method helps you move confidently from one system to another without guessing, and it keeps your calculations clear, shared, and accurate.
Common Volume Conversion Mistakes
Mistakes in volume conversions usually come from mixing up units, skipping a conversion step, or misreading a chart. You can avoid these liquid measurement pitfalls by checking each value before you act.
In kitchens, labs, and shops, volume estimation errors often happen when you assume similar labels mean equal amounts. Stay with a simple process:
- Match the unit first.
- Convert only one step at a time.
- Verify decimal placement.
- Recheck chart direction.
- Confirm the final unit.
When you work this way, you reduce confusion and keep your results consistent.
You’re not alone in making these errors; careful habits help you fit into any team that values accuracy and clear communication.
When to Round and When to Be Exact
You round volume conversions only after you know how precise the result needs to be. In practical applications, you use exact measurements when safety, labeling, or dosing depends on them, and you keep rounding rules strict.
In common scenarios like cooking, cleaning, or buying supplies, you can round to make decisions faster and easier to share with your team. Your precision needs should guide every choice: if the number affects cost, fit, or compliance, stay exact; if it supports planning, estimation techniques work well.
You’ll belong to the group that handles data well when you match the level of detail to the task. That balance keeps your conversions useful, trustworthy, and efficient.
Frequently Asked Questions
How Do I Convert Volume for Non-Liquid Materials?
You convert non-liquid volume by measuring dimensions, then applying density factors and weight conversion. You’ll get reliable estimates when you match units, account for compaction, and compare results against material-specific reference values.
What Tools Can Automate Volume Conversions?
You can automate volume conversions with conversion apps, online calculators, and spreadsheet formulas. You’ll compare units, enter values, and get instant results. Choose tools that fit your workflow, so you’ll feel confident and connected.
How Do I Convert Volume in Scientific Experiments?
You convert volume by identifying the original and target volume units, then multiplying by the correct factor. You’ll protect measurement accuracy by using calibrated glassware, recording values consistently, and checking conversions carefully with your lab team.
Can Temperature Affect Volume Measurements?
Yes—temperature can affect your volume measurements because temperature fluctuations cause volume expansion or contraction. You’ll get more accurate results if you control conditions, calibrate equipment, and let samples reach equilibrium before measuring.
How Do I Estimate Volume Without Measuring Cups?
You can estimate volume by using visual estimation and common containers: compare liquid height to known jars, bottles, or spoons, then adjust by proportion. You’ll get close, stay confident, and fit right in.
Conclusion
With quick volume conversions at your fingertips, you can move through recipes, cleaning tasks, and supply checks like a hand gliding over a well-marked scale. You’ll know when to round and when to stay exact, keeping every pour sharp and steady. By using simple ratios and clear charts, you cut errors and save time. In the kitchen or on the job, you’ll measure with confidence, turning guesswork into smooth, efficient action.